After having established a new user list page, it was time to ensure responsive design, as well as add a new way for users to create new lists.
It’s here that my decision to move to Bootstrap 4 has begun to pay dividends, because Bootstrap makes it very easy to create responsive design. My goal was to present the users lists as a set of cards with roughly equal size, and I wanted the number of cards on each row to change depending on the size of the screen. It was fairly easy to find an example of what I was looking for; this answer provided the most succinct solution. I made use of Bootstrap’s card decks to ensure equal lines, and the .w-100 class to create breakpoints when I wanted to.
The only issue was that, in the provided example, the cards were hard coded in at the onset, whereas my template created them dynamically based on how many recipes the user had. Therefore, I had to create my breakpoints dynamically as well. Here’s the solution I came up with, using the fact that jinja2 provides access to the iteration of the loop:
{% if loop.index % 2 == 0 %}
  <div class="w-100 d-none d-sm-block d-md-none"><!-- wrap every 2 on small --></div>
{% endif %}
{% if loop.index % 3 == 0 %}
  <div class="w-100 d-none d-md-block d-lg-none"><!-- wrap every 3 on medium --></div>
{% endif %}
{% if loop.index % 4 == 0 %}
  <div class="w-100 d-none d-lg-block d-xl-none"><!-- wrap every 4 on large --></div>
{% endif %}
{% if loop.index % 5 == 0 %}
  <div class="w-100 d-none d-xl-block"><!-- wrap every 5 on extra large --></div>
{% endif %}
This code inserts the necessary breakpoint at intervals of 2, 3, 4, and 5, depending on the size of the screen. Whether there are 2 lists or 100, the right breakpoints will be inserted.
As an example, let me go through the breakpoint that’s inserted every 3 divs:
<div class="w-100 d-none d-md-block d-lg-none"></div>To go through the classes here:
.w-100ensures that the div is the entire width of the screen.d-nonemeans that the div won’t be displayed (and therefore there won’t be a breakpoint) on the smallest screen size and up.d-md-blockoverrides the previous class on the medium screen size, ensuring that the div is rendered asdisplay: block, which forces the breakpoint.d-lg-noneagain overrides the medium breakpoint class, ensuring that, in any screen size larger than medium, the breakpoint again won’t be displayed.
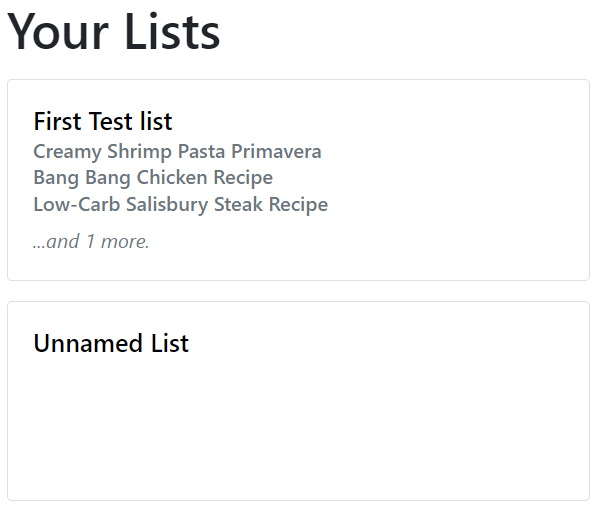
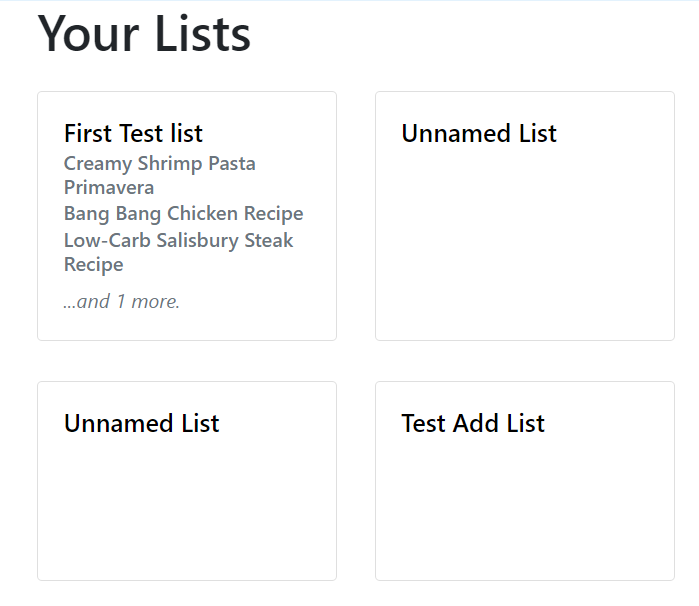
The benefit of this solution is that the list resizes automatically, and looks good no matter how big the screen is. Here are a couple screenshots of the lists in various sizes, one per line…
…two per line…
…and three per line:
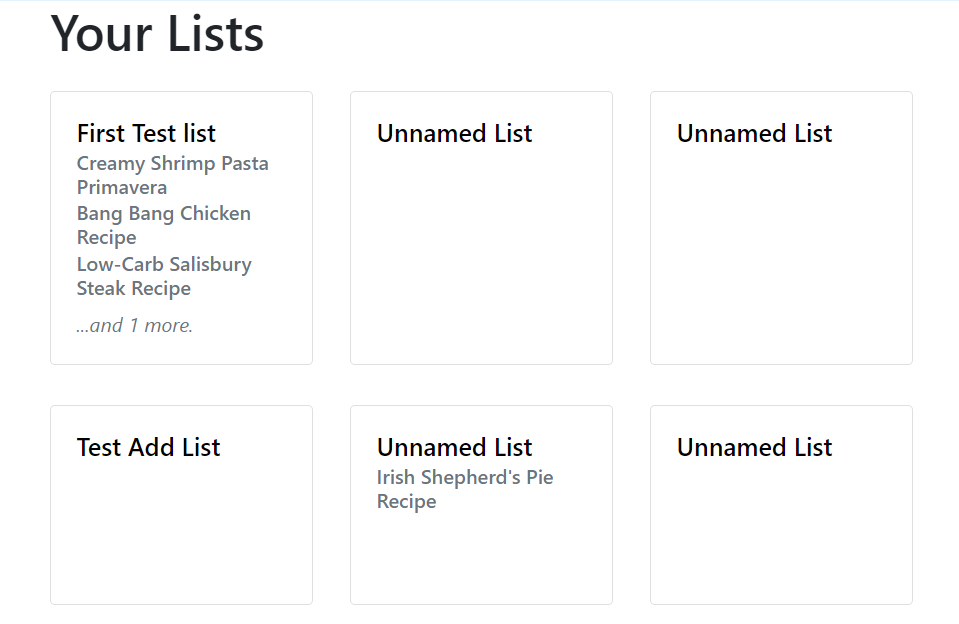
And so it goes, all the way up to five. I like this solution, I think it’s dynamic and it looks good in small and large screens.
But of course, having multiple lists look pretty doesn’t matter much if there isn’t any way for a user to make another list. So now I needed to add a way for the user to do so.
First, I created a new route, and a new template, dedicated solely to the creation of a new list. I added my trusty RecipeURLForm and CustomRecipeForms, and returned a render of my (then-uncreated) template:
@checklist.route('/list/create', methods=['GET', 'POST'])
def create_list_page():
    grocery_lists = CompiledList.query.filter_by(user_id=current_user.id).all()
    url_form = RecipeURLForm(prefix='url')
    custom_form = CustomRecipeForm(prefix='custom')

    return render_template('create_list.html', grocery_lists=grocery_lists, url_form=url_form, custom_form=custom_form)
Note the absence of any validate_on_submit() functions. That’s because I still have the code that creates new lists in its own route, that the forms post their data to. I’m increasingly feeling like this is not the best way to go about things, and might be changing it in a future refactor. But for now, I simply added url_for() calls in my template, which I embellished with a few simple instructions:
{% block content %}
<h1 class="mt-3">Create new list</h1>
<h6 class="text-muted font-italic">To get started, first paste the URL of a recipe you would like to add to your grocery list...</h6>
<div class="card my-3">
    <div class="card-body">
        <h5>Create by URL</h5>
        <form method="POST" action="{{url_for('checklist.create_methods', method='url')}}">
            <fieldset>
                {{url_form.url(class='form-control', placeholder='Paste your URL here...')}}
            </fieldset>
            {{url_form.submit(class='btn btn-primary mt-2')}}
        </form>
    </div>
</div>
<h6 class="text-muted font-italic">... or type or paste lines from a recipe or individual ingredients below! </h6>
<div class="card my-3">
    <div class="card-body">
        <h5>Or create by typing or pasting recipe lines below:</h5>
        <form method="POST" action="{{ url_for('checklist.create_methods', method='custom') }}">
            <fieldset>
                {{ custom_form.recipe_lines(class='form-control')}}
            </fieldset>
            {{ custom_form.submit(class='btn btn-primary mt-2') }}
        </form>
    </div>
</div>
<h6 class="text-muted font-italic">You can also create a blank list, and add recipes later.</h6>
<div class="card recipe-card my-3">
    <div class="card-body">
        <h5><a class="card-title stretched-link" href="{{ url_for('checklist.create_methods', method='blank') }}">New List</a></h5>
        <h6 class="card-subtitle mb-2 text-muted font-italic">You can add recipes later.</h6>
    </div>
</div>

{% endblock content %}
This created a simple, visually appealing creation page:
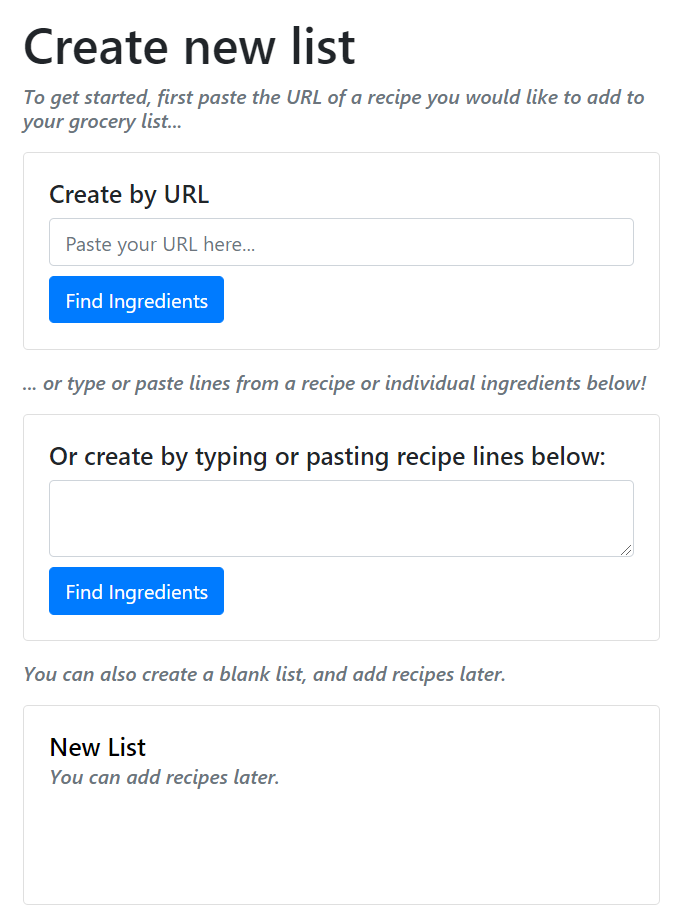
All well and good, but now I needed a way for the user to actually access this page. I decided to provide two links: the first of which would be in the navbar, so that the user could access the new list creation whenever they wanted:
<li class="nav-item"><a class="nav-link" href="{{ url_for('checklist.create_list_page') }}">Create New List</a></li>Additionally, I wanted a way for the user to specifically create a new list on their homepage. I decided that the most visually pleasing way to do so would be to create another card for a new list, in the same style as the already-existing list cards. That way, it would blend in, and the user would simply click it to start a new list, the same way one might do so in google docs.
<div class="card recipe-card my-3">
    <div class="card-body">
        <h5><a href="{{url_for('checklist.create_list_page')}}" class="stretched-link card-title">Create a New Grocery List</a></h5>
        <p class="card-subtitle mb-2 text-muted font-italic">Create a new grocery list via url or manually.</p>
    </div>
</div>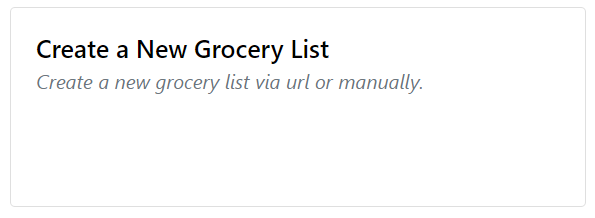
Simple and easy to understand, although now that I’m looking at this, I think it would be much better for this link to be at the top of the list, rather than at the end like I have now. But that’s a pretty easy fix.
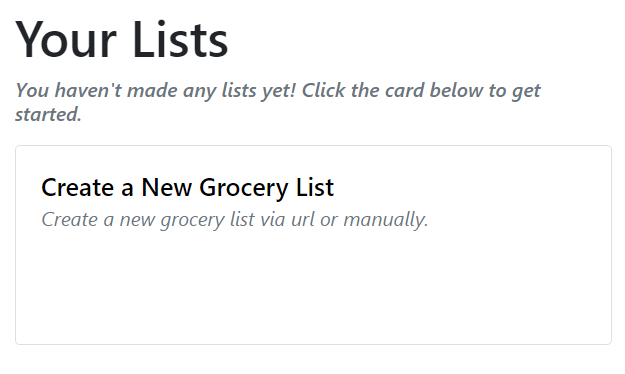
Almost done. The last thing I wanted to add was a quick note for new users, just something to display if they had no lists at all and prompt them in the right direction:
{% if user_lists|length < 1 %}
  <h6 class="text-muted font-italic text-light">You haven't made any lists yet! Click the card below to get started.</h6>
{% endif %}
This just shows some small text to the user before the “Create New List” card is shown.
And that’s about it for today! To recap, we now have a functioning user system and a new page that shows all the user’s lists. Additionally, we can create new lists and access them from the homepage or the navbar.
Next Steps:
- create a guest list that isn’t saved, but can be saved if the guest creates an account
- settings page for the user to alter information
- better security for passwords