With a basic pdf export available, it’s time to look at emailing the grocery list. When I add accounts, I want to give the user the option to do a one-click email to their inbox, so that they can easily access the grocery list outside of the app. In the meantime, I want to be able to allow the user to input an email address of their choice, and have the app send to the given email.
First, I created a test case, just to make sure I could actually send emails. I created a new gmail account for the app and added the email and password to my environmental variables. Then I imported flask_email and set up a new email object for my app:
# in config.py
class Config:
    SECRET_KEY = os.environ.get('FLASK_SECRET_KEY')
    SQLALCHEMY_DATABASE_URI = os.environ.get('FLASK_DATABASE_URI')
    MAIL_SERVER = 'smtp.gmail.com'
    MAIL_PORT = 587
    MAIL_USE_TLS = True
    MAIL_USERNAME = os.environ.get('EMAIL_USER')
    MAIL_PASSWORD = os.environ.get('EMAIL_PASS')

# in __init__.py
from flask import Flask
from flask_sqlalchemy import SQLAlchemy
from flask_mail import Mail

from grocerylistapp.config import Config

db = SQLAlchemy()
mail = Mail()


def create_app(config_class=Config):
    app = Flask(__name__)
    app.config.from_object(config_class)

    db.init_app(app)
    mail.init_app(app)

    from grocerylistapp.main.routes import main
    app.register_blueprint(main)

    return app
Note that I still only have one blueprint here. That’s going to have to change soon, I think. Things are getting a bit unweildy.
Then I added a new email route to my routes.py folder and a placeholder mailing function in utils.py, which doesn’t do anything but send a test email to myself.
# in routes.py
@main.route('/list/export')
def export_list():
    test_message()

    return redirect(url_for('main.home'))

# in utils.py
def test_message():
    msg = Message('This is a test', sender='noreply@demo.com', recipients=['wenzelstev@gmail.com'])

    msg.body = "This is a test to see if the emailing is working. Yay!"

    mail.send(msg)
(That’s my email address, by the way, in case you didn’t know. Feel free to contact me!)
Finally, I added a new button and, yes, a new modal to my list page. I’ve been thinking about the modals, and wondering if there might be a way to combine them into a single modal div component, and have dynamic information display. Something to consider for later. But for now, my copy/paste of the modal template continues.
<!-- Modal Email -->
<div class="modal fade" tabindex="-1" id="exportModal" role="dialog" aria-labelledby="deleteModalLabel" aria-hidden="true">
    <div class="modal-dialog" role="document">
        <div class="modal-content">
            <div class="modal-header">
                <h5 class="modal-title" id="exportModalLabel">Export List</h5>
                <button type="button" class="close" data-dismiss="modal" aria-label="Close">
                    <span aria-hidden="true">x</span>
                </button>
            </div>
            <div class="modal-body">
                <a href="{{url_for('main.export_list')}}" target="_ blank" class="btn btn-primary">Test Message</a>
            </div>
        </div>
    </div>
</div>
I then added a button to email right next to the print button, in what’s becoming a toolbar of sorts:

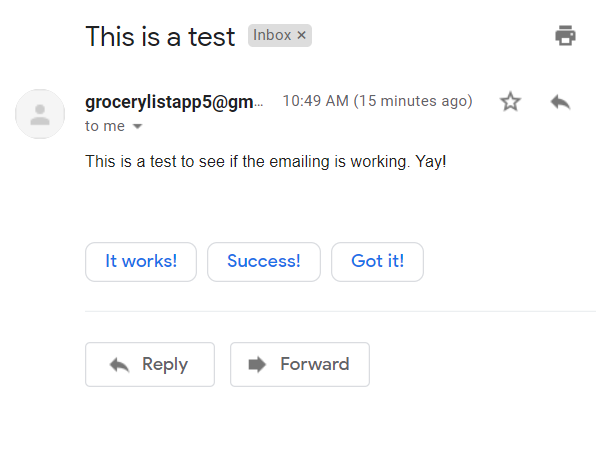
I then sent a test email, and am pleased to report that it is working:
With the proof of concept up and running, it was time to make the email actually have important information. First, I created a new form in my forms.py folder to take in the email address:
class ExportToEmailForm(FlaskForm):
    email = StringField("Email to send list to: ")
    submit = SubmitField("Send Email")
I added this form into my main list route and inserted it into my template on the modal I’d already made:
<form method="POST" action="">
    {{export_to_email_form.hidden_tag()}}
    <fieldset>
        {{export_to_email_form.email.label}}
        {{export_to_email_form.email(class='form-control')}}
    </fieldset>
    {{export_to_email_form.submit(class='btn btn-primary')}}
</form>
This created a nice looking modal:

Then, it was time to create the actual body of the email. I created a function in my utils.py file that took in all of the relevant information from the list page, and produced a simply-formatted email. Because this is an email and therefore paper resources wouldn’t be an issue, I didn’t bother including as much customization, instead providing the list items (noting if they’re checked or not), the recipe names, and the links to the recipes. I tried to get a little more use out of f-strings in this process, and I’m reasonably pleased with how it turned out.
def email_list(email, comp_list, list_lines, recipe_list):
msg = Message('Your Grocery List: ' + comp_list.name,
sender='grocerylistapp5@gmail.com',
recipients=[email])
list_html = f'''
<h1>{comp_list.name}</h1>
<ul>'''
for line in list_lines:
line_style = " style='color:darkgrey'" if line.checked else ""
line_checked = " <span style='font-style: italic'>(checked)</span>" if line.checked else ""
list_html += f'<li{line_style}>{line.ingredient}{line_checked}</li>'
list_html += '''
</ul>
<h1> Recipes in List: </h1>
<ul>'''
# remove 'Additional Ingredients' recipe:
recipe_list = [recipe for recipe in recipe_list if recipe.name != "Additional Ingredients"]
for recipe in recipe_list:
list_html += f'''<li><a href={recipe.recipe_url}>{recipe.name}</a></li>'''
list_html += '</ul>'
msg.html = list_html
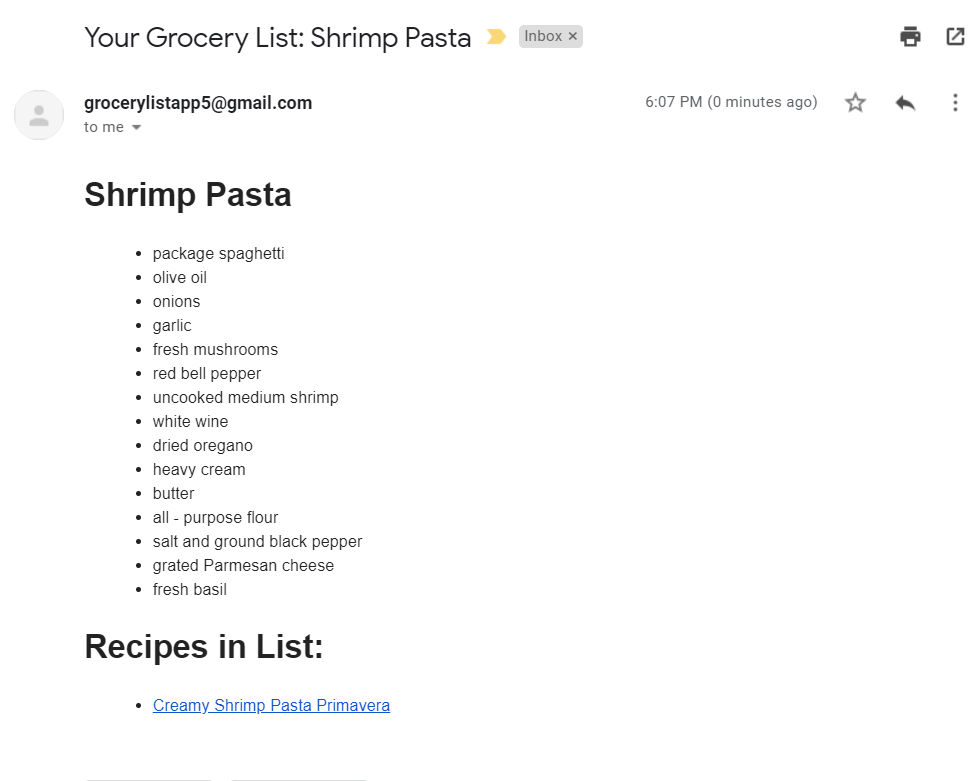
mail.send(msg)I gave it another test with the new email, and I’m pleased to report that everything seems to be working just fine:
And that’s about it for today! This was honestly much easier than I thought it would be; the whole process was fairly straightforward and I’m reasonably pleased with the result. Moving through the list quickly now; almost time for the last big feature: adding users. But a few more things to touch up on first.
Next Steps:
- text messaging (optional, need to investigate if it will cost money)
- some refactoring to prepare for adding users